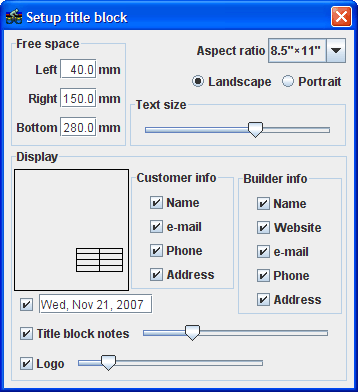
The Setup title block dialog box can be opened by selecting View >> Setup title block or by selecting the Setup Title Block icon ![]() from the top toolbar.
from the top toolbar.
The Free space section defines how much space should be left around the bike when framing it in the title block. The space above the bike is not defined because this space is a function of the Aspect ratio of the title block.
When exporting a drawing as a PDF, the PDF is by default generated as a full scale drawing. However, that PDF does not need to be printed at full scale. The default behaviour of the Adobe Acrobat PDF reader is to scale the drawing to fit the sheet onto which the drawing is being printed. Therefore, it is useful to select the appropriate aspect ratio so that your drawing will fill up the entire width and height of the paper.
The Landscape setting will the be most appropriate orientation for most bike designs. However, the Portrait option is preferred when displaying a rider on the bike.
Use the Text size slider to adjust the size of text in the title block. Meanwhile, the title block text font can be set in the Customize dialog box. The customer's info can be added in the Notes dialog box which is accessible from this icon: ![]() .
.
In the Display area, select which corner of the drawing to display the title block information as well as which elements of the customer info, builder info, date, logo and drawing note information to display. Note that the builder info and the logo (the graphic that you may choose to display in the title block) is set in the Customize dialog box. For more, see: bikecad.ca/custom_logo_in_title_block.
The title block is displayed by clicking this icon ![]() in the Display dialog box.
in the Display dialog box.
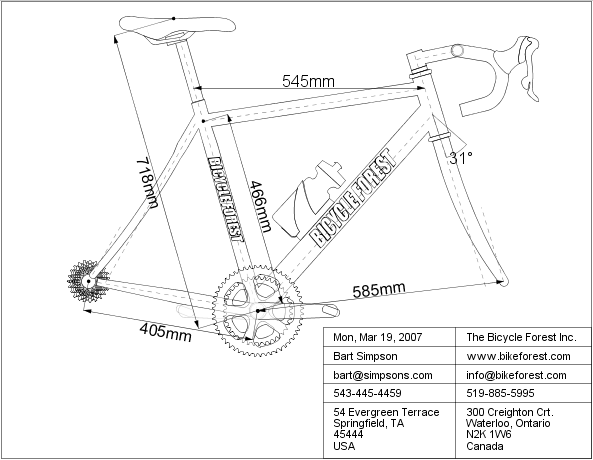
The example below illustrates how efficient use of the sheet can be made by turning off the display of the wheels (or possibly all of the components) and setting the left and right free space to negative values. For more help on framing your design in the title block see here.


